Key takeaways
- The main router’s Wi-Fi name (SSID), password, security type (WPA2 or WPA2/WPA3) and its LAN IP address, usually 192.168.0.1 or 192.168.1.1.
- The channel the main router uses on the band you will repeat. Set it to a fixed channel (for example 1, 6 or 11 on 2.4 GHz, or 36–48 on 5 GHz) so it does not change and break the bridge.
- A computer connected to the TP-Link router by Ethernet during setup, so you do not lose access when the wireless settings change.
- The TP-Link’s latest firmware, installed before you begin.
Yes, you can use a TP-Link router as a repeater: on most models you do it with WDS Bridging (found under the wireless or system parameters menu), and a few models offer a dedicated Range Extender operation mode that does the same job with fewer steps. Either way, the second router rebroadcasts your main Wi-Fi, but it costs you roughly half the bandwidth on the repeated link, so it is best for reaching a dead zone, not for speed. Below are the exact settings, why each one matters, and when a dedicated extender or mesh unit is the better use of $40 to $150.
Our top picks
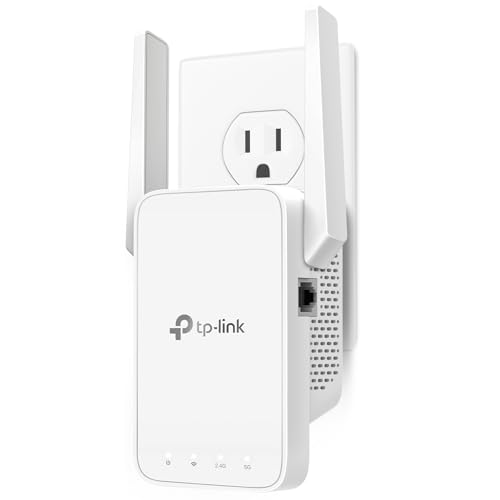


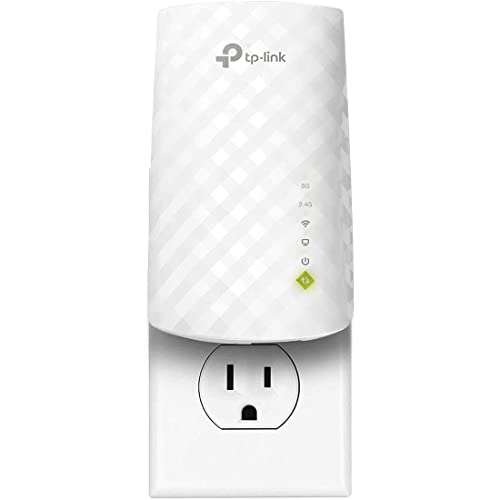
As an Amazon Associate we earn from qualifying purchases at no extra cost to you. Ratings are shown as listed on Amazon.
Repeater, access point or mesh: pick the right job first
A repeater connects to your main router over Wi-Fi. If you can run an Ethernet cable between the two routers, access point mode is always faster and more reliable, and a separate guide on gizmopc covers that wired setup. This article is only about the wireless case.
| Method | Link to main router | Typical speed at the far room* | Setup effort |
|---|---|---|---|
| TP-Link router in WDS Bridging | Wi-Fi, same radio repeats | 35–50% of main router signal at that spot | Medium (manual IP and DHCP changes) |
| TP-Link router in Range Extender mode (where offered) | Wi-Fi, same radio repeats | 35–50% | Low |
| Dedicated extender (e.g. TP-Link RE315, RE605X) | Wi-Fi; some route each band separately | 40–60% | Low |
| Tri-band mesh (dedicated backhaul) | Wi-Fi on its own band | 60–80% | Low |
| Access point over Ethernet | Cable | 90–100% | Low once the cable is run |
*Compared with the speed you would see standing at the repeater’s location connected straight to the main router. Real numbers depend on walls and distance.
What you need before you start
- The main router’s Wi-Fi name (SSID), password, security type (WPA2 or WPA2/WPA3) and its LAN IP address, usually 192.168.0.1 or 192.168.1.1.
- The channel the main router uses on the band you will repeat. Set it to a fixed channel (for example 1, 6 or 11 on 2.4 GHz, or 36–48 on 5 GHz) so it does not change and break the bridge.
- A computer connected to the TP-Link router by Ethernet during setup, so you do not lose access when the wireless settings change.
- The TP-Link’s latest firmware, installed before you begin.
Method 1: WDS Bridging on a TP-Link router
Menu names differ slightly by firmware generation, but the steps are the same.
- Log in at tplinkwifi.net or the router’s IP. On current Archer firmware, go to Advanced, then System (or System Tools), then System Parameters, where WDS settings live for each band. On older blue-interface models, it is under Wireless, then Wireless Settings, with an “Enable WDS Bridging” box.
- Change the TP-Link’s LAN IP to an unused address on the main network. If the main router is 192.168.0.1, set the TP-Link to something like 192.168.0.254. This avoids two devices claiming the same address, and the router will reboot.
- Enable WDS Bridging on one band. Use 5 GHz if the repeater is within one or two walls of the main router and 2.4 GHz if it is farther away, since 2.4 GHz penetrates walls better.
- Click Survey, pick your main network, then enter its password and matching security type.
- Match the channel on that band to the main router’s fixed channel. A mismatch is the most common reason WDS will not connect.
- Disable DHCP on the TP-Link (Network, then DHCP Server). Only the main router should hand out addresses, otherwise devices get the wrong gateway and lose internet.
- Set the TP-Link’s own Wi-Fi name and password. Using the same SSID and password as the main router lets devices roam, though they will not switch as smoothly as mesh.
- Save, reboot and check the status page. WDS status should show “Run” or “Connected.”
Method 2: Range Extender or Operation Mode
Some TP-Link routers list Operation Mode in the advanced menu. Most current Archer models offer only Router and Access Point there; certain models and hardware versions also include Range Extender, WISP or Client modes. If yours does, choose Range Extender, let it scan, select the main network and enter the password. The router handles IP and DHCP changes automatically, so this is the easier route when available.
Which TP-Link routers work well as repeaters
| Router type | Wi-Fi class | Useful as repeater? | Notes |
|---|---|---|---|
| Single-band N300 (e.g. TL-WR841N, TL-WR845N) | 2.4 GHz, 300 Mbps link | Basic only | Expect 20–60 Mbps after repeating; fine for browsing |
| Dual-band AC750–AC1200 (e.g. Archer C20, Archer C6) | Wi-Fi 5 | Reasonable | Repeat 5 GHz at short range, 2.4 GHz at long range |
| AC1750 and up (e.g. Archer A7, C7) | Wi-Fi 5, 3×3 | Good | Stronger radios hold a better link at distance |
| Wi-Fi 6 Archer AX models | Wi-Fi 6 | Good, if WDS is offered | Many are better used with OneMesh or as an access point |
Placement: where the repeater should go
The repeater needs a strong signal from the main router to have anything worth sharing. A practical rule: place it where your phone still shows at least two to three bars of the main network, typically halfway between the router and the dead zone. If the repeater only receives a weak signal, every device behind it inherits that weak link, and halving it again leaves little usable bandwidth.
Troubleshooting common problems
- Connected but no internet: DHCP is still on in the TP-Link, or its LAN IP conflicts with another device.
- Bridge drops every few hours: the main router changed channel on its own. Fix the channel on the main router.
- Cannot reach the TP-Link’s settings anymore: use the new IP you assigned, or reset it with the pinhole button and start again.
- WDS will not connect to a non-TP-Link router: WDS is not standardized across brands. Try WPA2-only (not WPA3) on the main router, or use an extender instead.
- Slow speeds: move the repeater closer, or switch the bridge from 2.4 GHz to 5 GHz if the signal there is strong.
When to buy gear instead
| Situation | Better buy | Typical price range |
|---|---|---|
| One dead room, main router not TP-Link | Dual-band extender such as TP-Link RE315 | $25–$45 |
| Main router is a OneMesh-capable TP-Link | OneMesh extender such as RE605X | $60–$90 |
| Several weak rooms or two floors | Deco mesh 2- or 3-pack | $100–$300 |
| Ethernet available between rooms | Use your spare router as an access point | Cost of a cable |
If you already own a spare TP-Link router, WDS repeating is free and worth trying. If you would need to buy one, a modern extender or a small mesh kit gives better speed, easier roaming and ongoing firmware support for similar money.